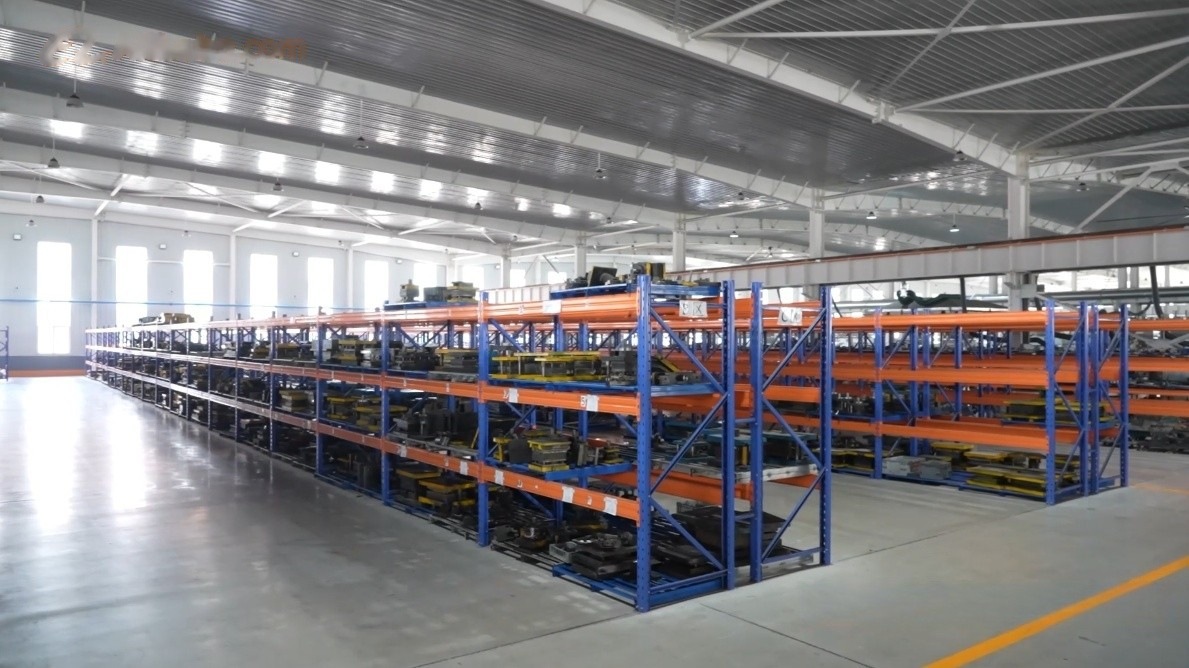
Tooling choice determines most of what a stamped part will cost over its lifetime. That decision happens before the first piece is ever made. For most buyers, progressive die stamping is the benchmark the other routes are measured against. The progressive die vs compound die comparison comes down to how many operations you need to combine and how fast you need to produce: a compound die performs several operations in one station on one stroke, while a progressive die moves a strip through a sequence of stations and delivers a finished part every stroke once the strip is loaded.
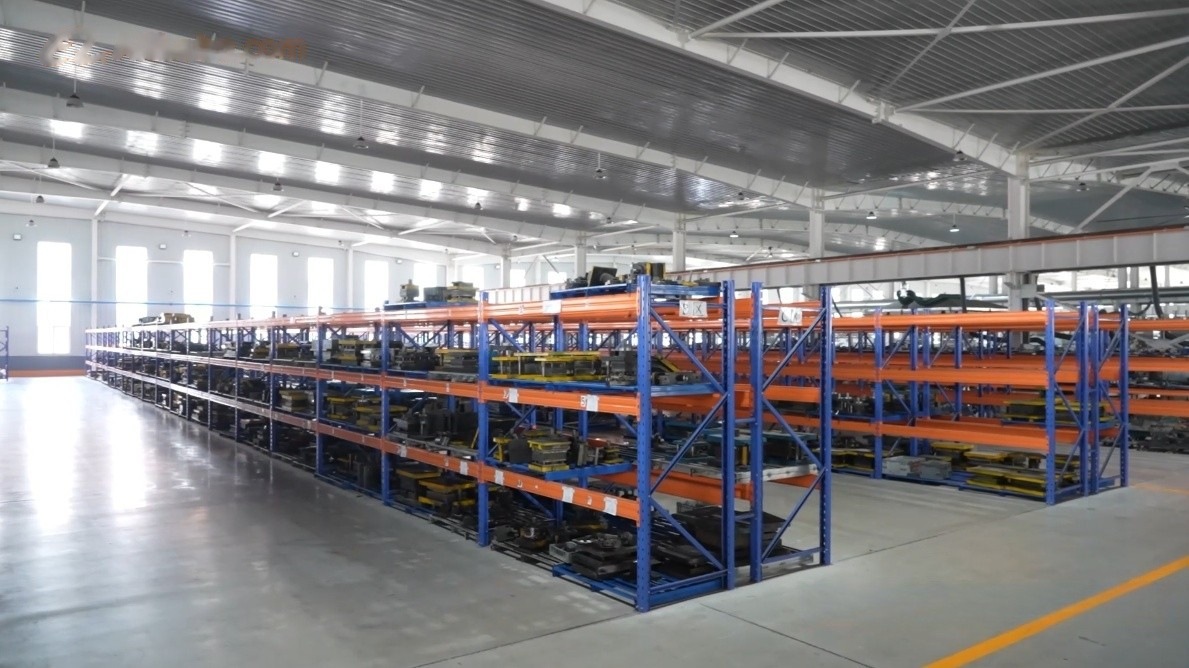
Alongside those two sit single-stage tooling — the simplest and cheapest to build, the slowest and most labour-intensive to run — In addition, transfer tooling mechanically moves individual blanks between stations and handles parts that cannot stay attached to a carrier strip.
Choosing well is not about picking the most sophisticated option. Rather, it is about matching tooling investment to realistic annual volume, part complexity and how stable the design is. This guide sets out the trade-offs so the decision can be made on engineering grounds rather than on whatever the supplier happens to own.
Progressive die stamping and the three alternatives
Single-stage tooling
One die performs one operation. The part is blanked in one tool, then moved to another for piercing, then another for forming. Each step is a separate setup, and usually a separate handling operation by an operator.
Tooling costs little and builds quickly, and you can modify any single step without touching the rest. The penalty is recurring: handling labour on every piece, accumulated positional error between setups, and slow throughput. Single-stage tooling suits prototypes, low volumes and parts whose design has not settled.
Compound die
A compound die performs multiple cutting operations at a single station on a single stroke — typically blanking the outline and piercing the holes simultaneously. Everything happens in one hit, with the material held in one position. Therefore, the relationship between the outline and the holes is exceptionally consistent.
That is the compound die’s defining advantage: concentricity and feature-to-feature accuracy. Its limitation is that it is primarily a cutting tool. Complex forming is not what it does, so parts needing several forming stages will still require secondary operations.
Progressive die
A progressive die contains a sequence of stations. The strip advances a fixed pitch with each stroke, and the part forms progressively while staying attached to a carrier strip, until the final station cuts it free. As a result, once the strip is running, a finished part leaves the die every stroke.
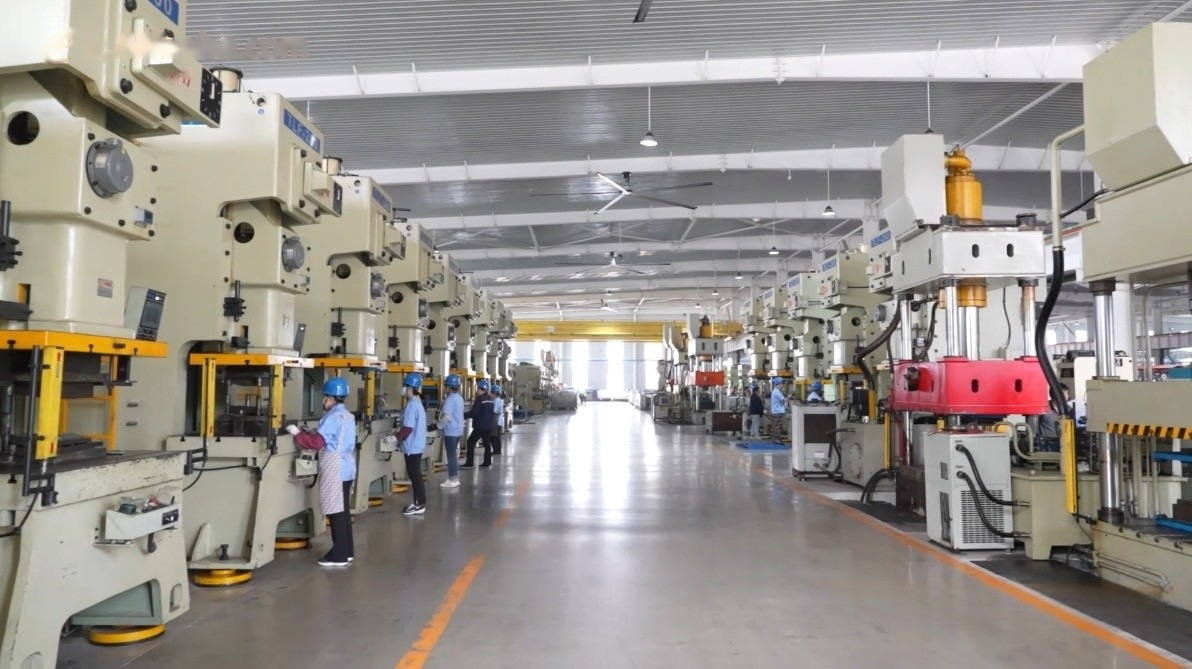
Consequently, progressive tooling delivers the lowest cost per part at volume and the highest throughput. It is also the most expensive to design and build, the most demanding to maintain, and the least forgiving of design changes — altering one feature can mean reworking several stations and re-timing the strip layout. Our stamping operation runs progressive and compound tooling across a 25 to 400 ton press range, with die design and build handled in our own workshop.
Transfer die
In transfer tooling, fingers cut the blank free at the start and move it mechanically from station to station. Because no carrier strip holds the part, fingers can form it on all sides, turn it over and draw it deeply — geometries a progressive die cannot accommodate.
Transfer tooling suits larger parts, deeper draws and shapes where a carrier strip would obstruct the forming. Where geometry is dominated by deep forms, our guide to deep drawing vs metal stamping covers the crossover. It is slower than progressive per stroke, and the transfer mechanism adds cost and complexity. However, for the right geometry there is no alternative.
Progressive die stamping vs compound die: choosing between the two
These two are the ones most often confused, so it is worth stating the difference plainly.
- Operations per stroke. A compound die performs several operations at one station simultaneously. A progressive die performs one operation per station, sequentially, across many stations.
- Output per stroke. Both produce one part per stroke in steady state, but the progressive die can incorporate far more operations in that single stroke’s worth of throughput.
- Accuracy character. The compound die’s single-hit approach gives it the edge in hole-to-outline concentricity. A progressive die accumulates a small amount of positional variation across stations, controlled by pilot pins that locate the strip at each step.
- Forming capability. In contrast, the compound die is essentially a cutting tool, while the progressive die readily combines cutting with bending, embossing, coining and shallow drawing.
- Tooling cost. Generally, a compound die is significantly cheaper to build than a progressive die of comparable part complexity.
The practical rule: if the part is a flat cut part with demanding concentricity and no meaningful forming, a compound die is usually the better value. If the part needs several forming operations and the volume justifies it, the progressive die repays its cost through cycle rate and eliminated handling.
Progressive die stamping decision table
| Criterion | Single-stage | Compound | Progressive | Transfer |
|---|---|---|---|---|
| Operations combined | One per tool | Several cutting ops, one station | Many, sequential stations | Many, part moved between stations |
| Relative tooling cost | Lowest | Low to moderate | High | High |
| Tooling build time | Shortest | Short to moderate | Longest | Long |
| Cycle rate | Low | Moderate | Highest | Moderate |
| Handling labour per part | High | Low | Minimal | Low |
| Forming capability | Yes, one stage at a time | Limited | Extensive | Extensive, including deep forms |
| Concentricity control | Weakest | Best | Good, pilot-controlled | Good |
| Material utilisation | Variable | Good | Carrier strip is scrap | Good, no carrier strip |
| Tolerance of design changes | Highest | Moderate | Lowest | Low |
| Best-fit part type | Prototypes, low volume, unsettled design | Flat cut parts needing tight concentricity | Complex cut-and-formed parts at volume | Large or deeply formed parts |
Progressive die stamping volume thresholds
There is no universal part count at which progressive tooling becomes correct, and any supplier quoting one is generalising. The break-even depends on part complexity, material cost, press rate and how much handling labour the simpler route requires. What can be stated as engineering guidance, however, is the direction of the trade-off:
- Prototype and pilot quantities. Single-stage tooling, or laser cutting and bending with no hard tooling at all. Committing to a progressive die before the design freezes is the most expensive mistake available.
- Low, uncertain volumes. Single-stage or compound tooling. Keep the fixed investment small while the programme proves itself.
- Established medium volumes. Compound tooling for cut parts, progressive tooling where forming operations are stacking up and handling labour is visibly dominating cost.
- High, stable volumes. Progressive tooling almost always, unless geometry forces transfer.
When annual volume is genuinely uncertain, a staged approach is often the rational answer. Build simple tooling first, produce and sell, then invest in progressive tooling once demand is demonstrated. The first-year part cost is higher but the downside is bounded. Committing to expensive tooling for a forecast that does not materialise converts a variable cost into a stranded one.
Progressive die stamping: material utilisation and scrap
Scrap is a recurring cost that quietly outweighs tooling on high-volume parts. In fact, it can dominate total cost on long-running programmes. Progressive tooling carries an inherent penalty here: the carrier strip that holds the part between stations becomes scrap. Depending on part geometry and strip layout, that can be a meaningful share of the material purchased.
Transfer tooling, in contrast, avoids the carrier strip entirely, which is one reason it can win on large parts where material is a bigger cost driver than cycle time. Compound tooling nests reasonably well because the outline is cut in one hit.
In short, strip layout is where a die designer earns their fee. Part orientation, nesting angle, web width between parts and pitch all affect how much of the coil ends up as product. On a long-running part, even a two or three percent utilisation gain matters. It can exceed the entire tooling cost over the programme life.
Progressive die stamping: maintenance, die life and lead time
Every die wears. Punches dull, edges chip, clearances open up and burr height creeps. A maintenance schedule based on strokes rather than on the appearance of defects is the difference between planned downtime and an unplanned stoppage mid-order.
Progressive dies demand the most attention. A single worn station affects every part, and re-timing after a repair requires care. Compound dies are simpler to sharpen and reset. Meanwhile, single-stage tools are trivial to maintain, but you have more of them.
On lead time, for example, the tooling build dominates the schedule for any hard-tooled part. Single-stage tooling is fastest, progressive slowest. First article inspection then adds a review cycle before production release. Protect that step. Approving a first article properly is far cheaper than discovering a dimension problem after ten thousand parts. Our inspection sequence is described on the quality page.
Design decisions that affect progressive die stamping
- Hole-to-edge distance. Holes placed closer than roughly two material thicknesses from an edge or bend, for example, can distort during cutting or forming.
- Uniform hole sizes. Standardising hole diameters reduces the number of punches and simplifies maintenance.
- Generous internal radii. Sharp internal corners concentrate stress in the tool and shorten die life.
- Symmetry. Symmetric parts nest better and are less prone to strip-feeding problems.
- Tolerance discipline. Tight tolerances applied to non-functional dimensions raise tooling cost and inspection cost with no benefit. Tighten what locates or mates; relax the rest, using a general tolerance class such as those in ISO 2768 for everything else.
- Forming direction. Bends in a single direction simplify progressive strip layout; bends in opposing directions may push the part toward transfer tooling.
If the part might not need hard tooling at all, that is worth establishing early. For example, at low volumes, laser cutting and CNC bending produce the same geometry with no tooling investment whatsoever.
Frequently Asked Questions
What is the difference between a progressive die and a compound die?
A compound die performs several cutting operations at a single station in one stroke, while a progressive die performs one operation per station as the strip advances through a sequence of stations. The compound die gives the best hole-to-outline concentricity; the progressive die combines far more operations and produces complex formed parts at higher rates. Compound tooling costs considerably less to build.
When is progressive tooling worth the investment?
Progressive tooling pays off when volumes are high and stable and the part needs several operations that would otherwise require separate handling. The break-even depends on part complexity, material cost and press rate, so it should be calculated per part rather than assumed. If the design is still changing, defer the investment.
Can a progressive die produce formed features as well as cut ones?
Yes. Progressive tooling routinely combines blanking, piercing, bending, embossing, coining and shallow drawing across its stations. This is its main advantage over a compound die, which is essentially a cutting tool.
What is transfer tooling used for?
Transfer tooling is used when the part cannot remain attached to a carrier strip — for example, large parts, deeply drawn shapes, or geometries that must be formed on multiple sides or turned over. The blank comes free first and moves mechanically between stations. It also avoids carrier-strip scrap, which matters on large parts.
How long does stamping tooling last?
Die life depends on material hardness, tool steel selection, coating, clearance and maintenance discipline rather than on a fixed number. Punches and die inserts are consumable. We sharpen or replace them on a planned schedule based on stroke count. Well-maintained tooling can run for many production years, which is why maintenance planning matters more than the initial specification.
Who owns the tooling I pay for?
That depends entirely on the contract, and ownership terms vary considerably between suppliers. Agree in writing, before the tooling order is placed, who owns the tooling. Also confirm whether it may be used for other customers, and how it is released if you change supplier. Ambiguity here becomes commercial leverage against you at every later negotiation.
Send the part and the volume, and we will recommend the tooling
Tooling selection is much easier to get right when the drawing and the realistic annual volume are reviewed together. Recent progressive die stamping projects are documented in our case studies. Send both the drawing and the annual volume, and an engineer will recommend a tooling route, flag any features driving unnecessary die complexity, and return a quotation within 3 business hours. Email xcwystamping@xcwybj.com or use the quote request form.
Need a decision on your part?
Send your drawings for an engineering review — pricing plus DFM feedback within 3 business hours. MOQ from 1 pc, NDA on request.
Fine blanking: the fourth option, and when it earns its cost
Fine blanking is often listed alongside progressive and compound tooling, so it is worth placing precisely. Where a conventional die cuts the material and lets it fracture through to a rollover edge, fine blanking uses a triple-action press: a V-ring (impingement ring) bites into the stock and a counter-pressure system holds the material in full contact through the cut, so the part separates by plastic shear rather than fracture. The result is a sheared edge that is smooth and close to square across the full material thickness, with better flatness and edge characteristics than conventional stamping.
That changes the tooling decision in four ways:
- Die cost — the impingement ring, the counter-pressure system and the much tighter die clearances make a fine blanking die substantially more expensive than a progressive or compound die for the same part.
- Press — it needs a dedicated triple-action press, so it cannot simply be swapped into whatever press happens to be free.
- Part design — it suits parts where a smooth, square sheared edge is required through the full thickness and where there is no room for a secondary edge-finishing operation. Fine blanking tools can also integrate forming operations across stages.
- Volume — because the die cost has to be amortised over the parts, the volume at which fine blanking beats a conventional die plus a secondary operation is higher than the crossover for a progressive die.
The practical rule: if the drawing demands a smooth, square edge through the full material thickness and the annual volume justifies a dedicated press and die, fine blanking earns its cost. If the part design allows, precision metal stamping with a progressive die can save significantly on total part cost — so the question worth asking is whether the edge requirement is genuinely a fine-blanking requirement, or something a progressive die plus a light secondary operation can hold.
Leave a Reply