Deep Drawing Defects Troubleshooting: Causes and Corrections
Deep Drawing Defects Troubleshooting: Causes and Corrections is a practical engineering reference for teams that need manufacturable metal parts without hiding risk behind generic rules. The method begins by identifying where and when a defect forms, then separates material, tooling, lubrication, alignment, and process-setting causes. The guide explains how to translate function into process choices, tolerances, inspection points, and supplier questions. It also shows where prototype evidence should replace assumptions. XCWY has supported metal-part production since 1998 and can combine stamping, deep drawing, laser cutting, bending, five-axis machining, welding, PEM insertion, finishing coordination, and CMM inspection. Available equipment includes 25–400-ton presses, a 12 kW laser, a 3,200 mm press brake, and a DMU38 five-axis center. The operating quality system is ISO 9001:2015, certificate 34025Q30296R0S. Use this deep drawing defects troubleshooting resource to prepare a clearer RFQ, compare feasible routes, and agree acceptance criteria before material or tooling is committed.
Request a Drawing Review
Attach the drawing, revision, material, quantity, critical tolerances, finish and target date. The inquiry is saved in the site database and emailed to the XCWY team.
Diagnose Wrinkling
Within deep drawing defects troubleshooting: causes and corrections, treat diagnose wrinkling as a controlled engineering choice rather than a drawing afterthought. Wrinkles in the flange usually indicate insufficient restraint, excessive unsupported material, unsuitable blank shape, or uneven binder contact. Wall wrinkles can be carried in from the flange or created by unstable compression. Check blank-holder force, draw-bead engagement, lubrication, blank centering, and binder parallelism before changing several variables. More restraint may suppress wrinkles but can cause tearing elsewhere. When documenting diagnose wrinkling, separate mandatory functional requirements from preferences, then identify the datums, interfaces, cosmetic zones, load paths, and acceptance evidence relevant to this decision. The drawing, CAD model, material callout, finish note, and revision should give one consistent definition of the diagnose wrinkling requirement. Apply tight limits only where diagnose wrinkling affects fit, motion, safety, sealing, or interchangeability; a blanket tolerance can add setup and inspection cost without improving performance. If uncertainty remains around diagnose wrinkling, approve a representative first article before committing production material or tooling.
Investigate Tearing and Splits
For deep drawing defects troubleshooting: causes and corrections, resolve investigate tearing and splits before production data is released. Splits indicate local strain beyond available formability. Common contributors include excessive draw ratio, small punch or die radii, high restraint, poor lubrication, burr orientation, hard spots, and unfavorable rolling direction. Map the split location and direction, then inspect thinning around it. Corrections may include larger radii, staged draws, altered blank development, improved lubrication, reduced binder force, or a more formable temper. When documenting investigate tearing and splits, separate mandatory functional requirements from preferences, then identify the datums, interfaces, cosmetic zones, load paths, and acceptance evidence relevant to this decision. The drawing, CAD model, material callout, finish note, and revision should give one consistent definition of the investigate tearing and splits requirement. Apply tight limits only where investigate tearing and splits affects fit, motion, safety, sealing, or interchangeability; a blanket tolerance can add setup and inspection cost without improving performance. If uncertainty remains around investigate tearing and splits, approve a representative first article before committing production material or tooling.
Control Earing
In deep drawing defects troubleshooting: causes and corrections, a review of control earing must connect geometry, material behavior, tooling access, and inspection. Ears around a drawn rim arise mainly from planar anisotropy in rolled sheet, often with lobes related to rolling direction. They consume trim allowance and can create uneven downstream forming. Confirm coil orientation and certificate data, measure ear height at consistent angles, and optimize blank contour to redistribute material. Trimming remains necessary for many cups, so include enough stock without accepting excessive scrap. When documenting control earing, separate mandatory functional requirements from preferences, then identify the datums, interfaces, cosmetic zones, load paths, and acceptance evidence relevant to this decision. The drawing, CAD model, material callout, finish note, and revision should give one consistent definition of the control earing requirement. Apply tight limits only where control earing affects fit, motion, safety, sealing, or interchangeability; a blanket tolerance can add setup and inspection cost without improving performance. If uncertainty remains around control earing, approve a representative first article before committing production material or tooling.

Correct Uneven Wall and Thickness
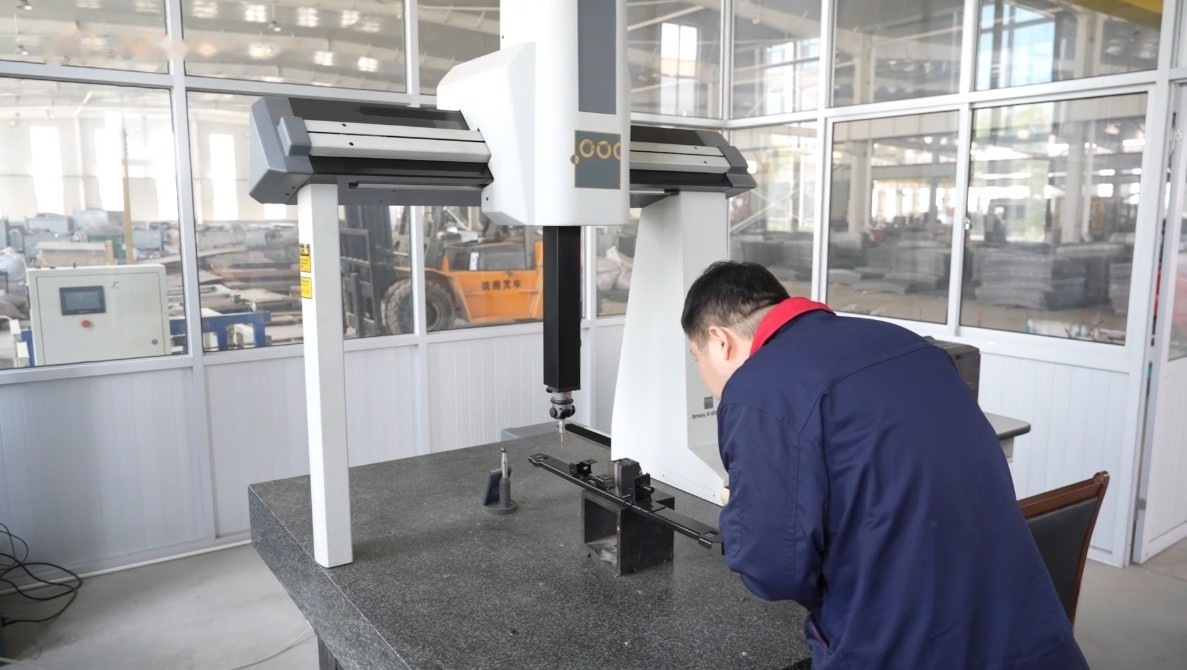
Within deep drawing defects troubleshooting: causes and corrections, treat correct uneven wall and thickness as a controlled engineering choice rather than a drawing afterthought. Off-center blanks, asymmetric lubrication, tool misalignment, variable binder pressure, and an unbalanced blank contour can produce uneven wall height or thinning. Measure a grid of wall thickness and height rather than checking one section. Inspect punch-to-die clearance and press alignment. A CMM can locate geometric bias, while sectioning or ultrasonic measurement may reveal a thickness trend hidden by acceptable outside dimensions. When documenting correct uneven wall and thickness, separate mandatory functional requirements from preferences, then identify the datums, interfaces, cosmetic zones, load paths, and acceptance evidence relevant to this decision. The drawing, CAD model, material callout, finish note, and revision should give one consistent definition of the correct uneven wall and thickness requirement. Apply tight limits only where correct uneven wall and thickness affects fit, motion, safety, sealing, or interchangeability; a blanket tolerance can add setup and inspection cost without improving performance. If uncertainty remains around correct uneven wall and thickness, approve a representative first article before committing production material or tooling.
Address Surface Damage
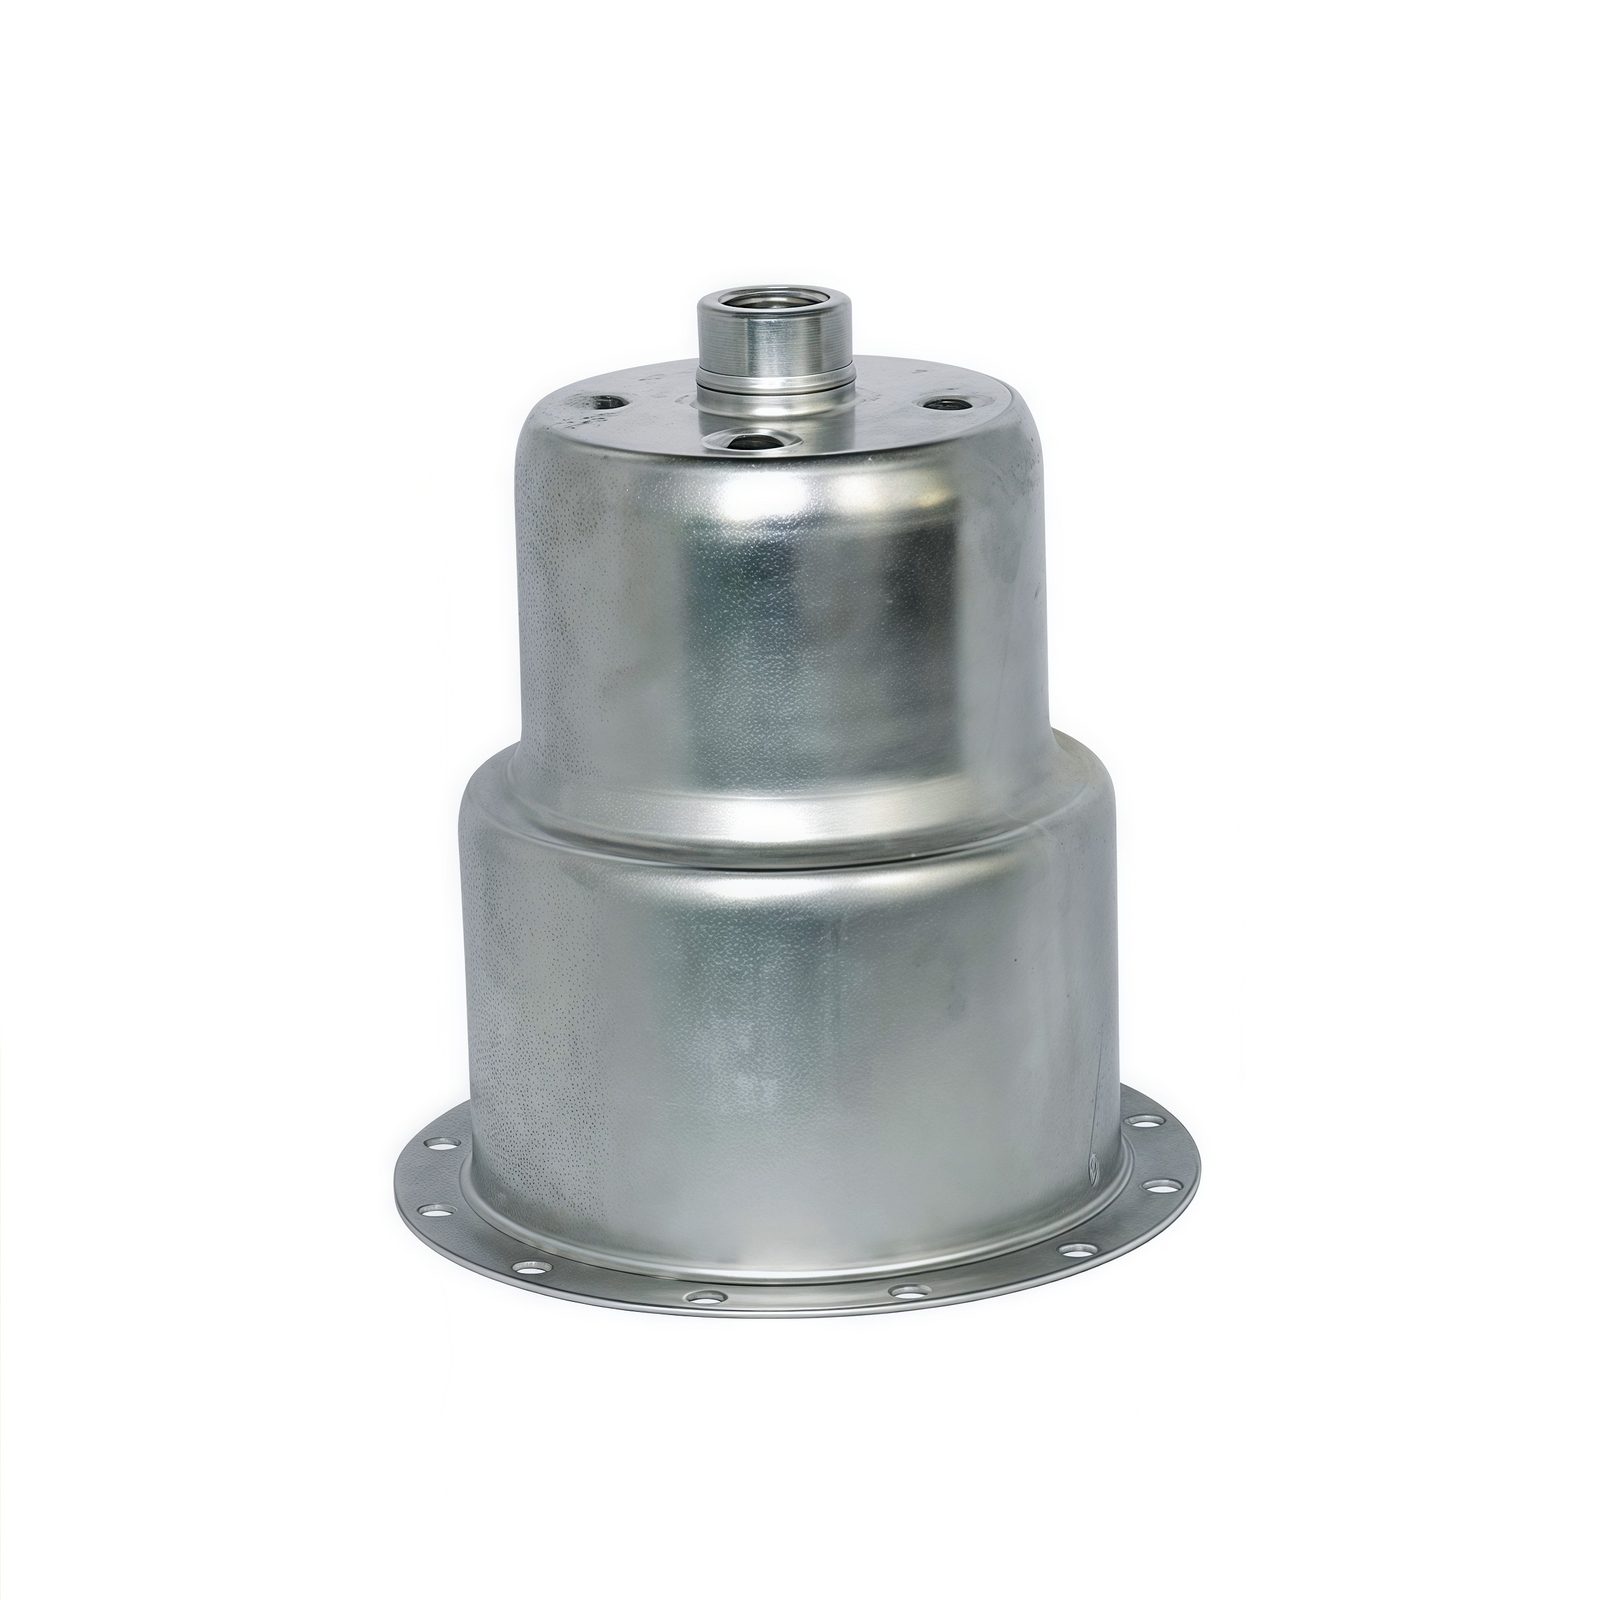
For deep drawing defects troubleshooting: causes and corrections, resolve address surface damage before production data is released. Scoring and galling result from adhesive wear, debris, rough tooling, failed lubricant, excessive contact pressure, or incompatible coatings. Orange peel reflects coarse material grain after strain; stretcher marks can relate to yield-point behavior. Separate tool marks from material texture before acting. Clean and polish the die, verify lubricant application, review tool coating, control incoming surface condition, and protect cosmetic areas during handling. When documenting address surface damage, separate mandatory functional requirements from preferences, then identify the datums, interfaces, cosmetic zones, load paths, and acceptance evidence relevant to this decision. The drawing, CAD model, material callout, finish note, and revision should give one consistent definition of the address surface damage requirement. Apply tight limits only where address surface damage affects fit, motion, safety, sealing, or interchangeability; a blanket tolerance can add setup and inspection cost without improving performance. If uncertainty remains around address surface damage, approve a representative first article before committing production material or tooling.

Stabilize the Corrective Process
In deep drawing defects troubleshooting: causes and corrections, a review of stabilize the corrective process must connect geometry, material behavior, tooling access, and inspection. Change one controlled factor where possible and record press, die revision, material lot, lubrication, forces, dimensions, and defect severity. Use forming-limit analysis or simulation to guide investigation, but correlate it with physical tryout. Confirm that a fix does not create springback, dimensional drift, or accelerated die wear. Release production only after representative parts meet dimensional, thickness, surface, and trimming requirements. When documenting stabilize the corrective process, separate mandatory functional requirements from preferences, then identify the datums, interfaces, cosmetic zones, load paths, and acceptance evidence relevant to this decision. The drawing, CAD model, material callout, finish note, and revision should give one consistent definition of the stabilize the corrective process requirement. Apply tight limits only where stabilize the corrective process affects fit, motion, safety, sealing, or interchangeability; a blanket tolerance can add setup and inspection cost without improving performance. If uncertainty remains around stabilize the corrective process, approve a representative first article before committing production material or tooling.
Engineering Decision Table
| Condition | Recommendation | Why |
|---|---|---|
| Unproven geometry—deep drawing defects troubleshooting | Run a representative prototype | Evidence reveals springback, distortion, access, and inspection risks in deep drawing defects troubleshooting. |
| Functional characteristic—deep drawing defects troubleshooting | Define datum-based measurement | Critical deep drawing defects troubleshooting controls need unambiguous acceptance evidence. |
| Cosmetic-only feature—deep drawing defects troubleshooting | Set an appearance-zone limit | A bounded deep drawing defects troubleshooting standard avoids unnecessary precision cost. |
| Low volume or changing design—deep drawing defects troubleshooting | Defer dedicated tooling | A flexible deep drawing defects troubleshooting route preserves revision freedom. |
| Stable repeat demand—deep drawing defects troubleshooting | Evaluate dedicated tooling or gauges | Upfront deep drawing defects troubleshooting engineering can reduce cycle time and variation. |
| Approved input changes—deep drawing defects troubleshooting | Perform a documented delta review | Substitution can change deep drawing defects troubleshooting dimensions, corrosion, or appearance. |
| Sector certification required—deep drawing defects troubleshooting | Confirm compliance before sourcing | XCWY does not claim ISO 13485, IATF 16949, AS9100, or UL. |
RFQ and Drawing Checklist
- Define the functional objective and failure modes—deep drawing defects troubleshooting.
- Attach matching 3D and revision-controlled 2D files—deep drawing defects troubleshooting.
- State material grade, temper, thickness, and substitution rules—deep drawing defects troubleshooting.
- Identify datums and critical-to-function dimensions—deep drawing defects troubleshooting.
- Separate cosmetic surfaces from nonappearance zones—deep drawing defects troubleshooting.
- Specify edge break, burr direction, and sharp-edge restrictions—deep drawing defects troubleshooting.
- Call out finish standard, color, gloss, masking, and test method—deep drawing defects troubleshooting.
- Provide prototype, launch, and expected annual quantities—deep drawing defects troubleshooting.
- Agree measurement equipment, sampling, and report format—deep drawing defects troubleshooting.
- Confirm joining hardware, weld symbols, and assembly sequence—deep drawing defects troubleshooting.
- Review packaging protection for surfaces and formed features—deep drawing defects troubleshooting.
- Resolve open DFM questions before approving material or tooling—deep drawing defects troubleshooting.
Manufacturing Evidence — Deep Drawing Defect Troubleshooting
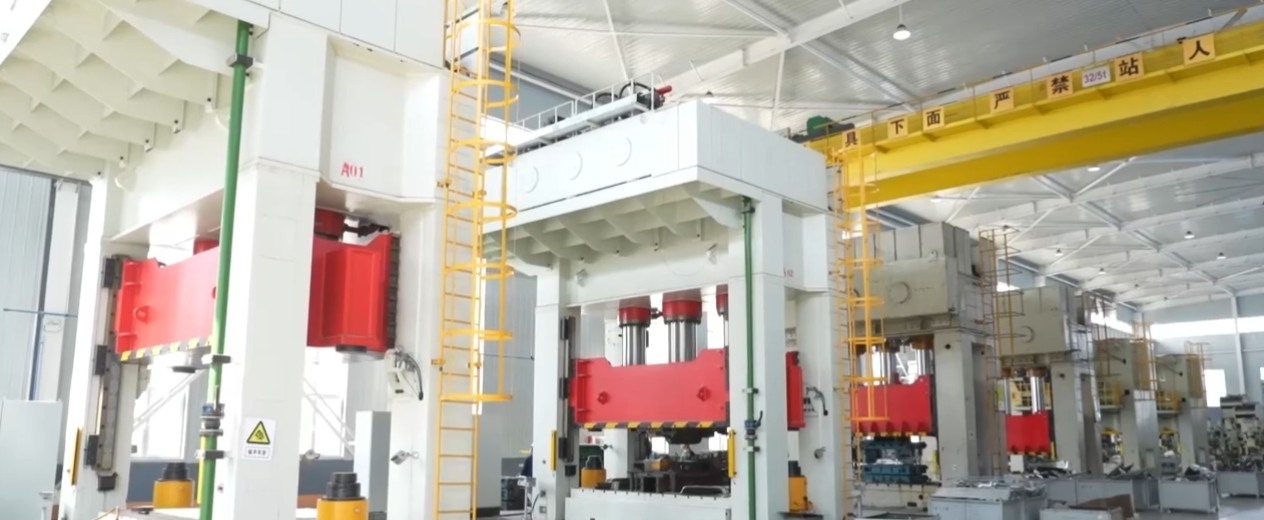
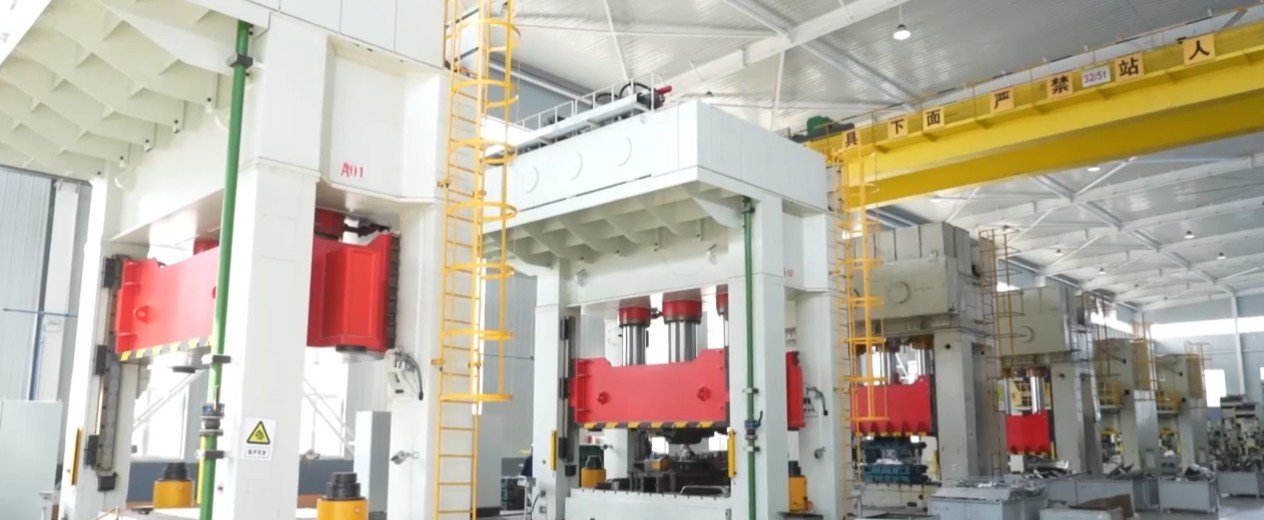
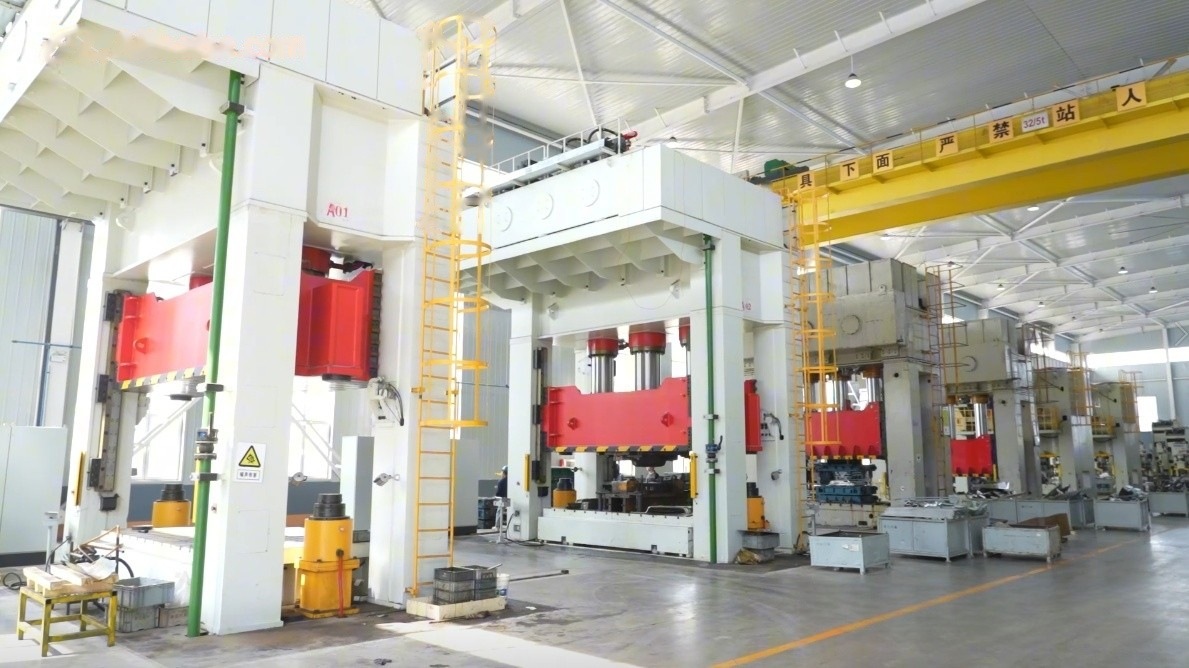
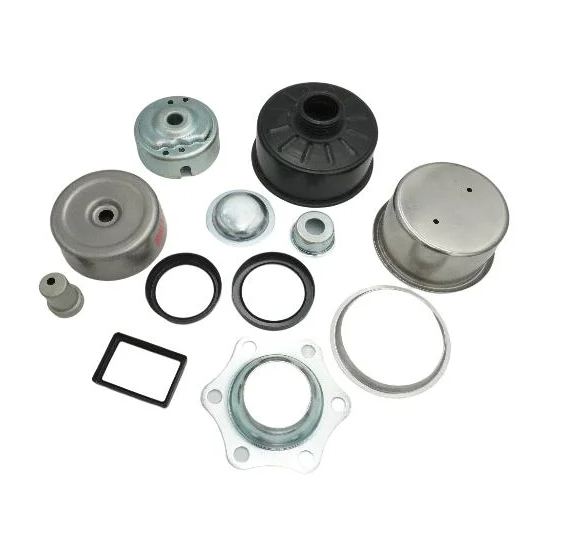
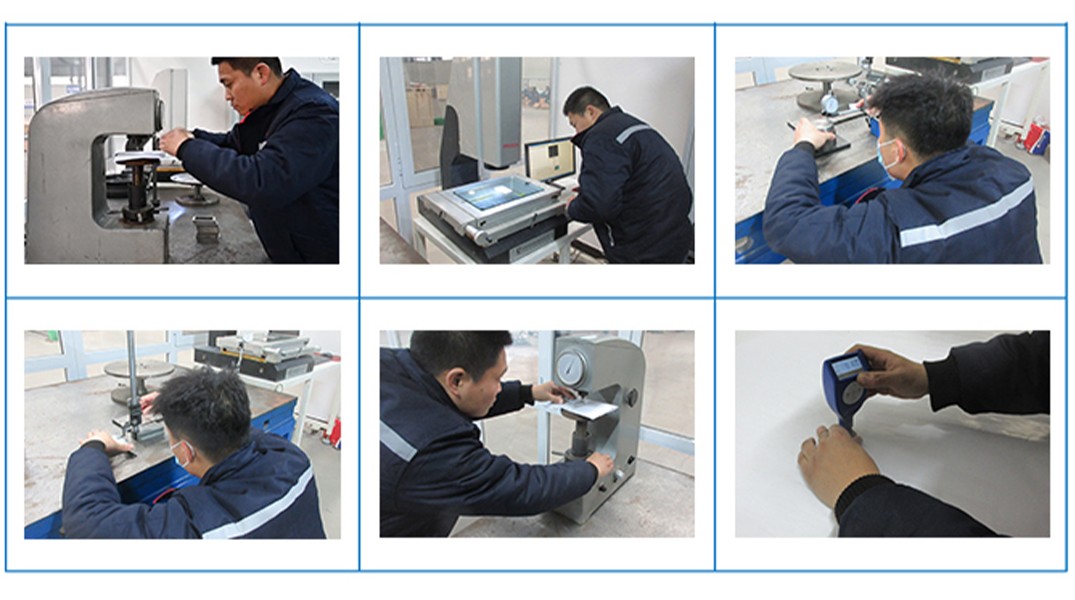
The images below come from the XCWY site asset library and show the plant, equipment, inspection areas and representative parts already published for Deep Drawing Defect Troubleshooting.
Frequently Asked Questions
When should an engineer request DFM feedback for deep drawing defects troubleshooting?
Request deep drawing defects troubleshooting feedback before freezing the drawing and after any material, tolerance, finish, or volume change. An early deep drawing defects troubleshooting review leaves room to alter geometry before tooling or purchase orders are released.
What files make a deep drawing defects troubleshooting RFQ technically complete?
For deep drawing defects troubleshooting, provide matching 3D and controlled 2D data, material grade and temper, quantities, finish, critical dimensions, inspection expectations, and assembly context.
Can XCWY support one deep drawing defects troubleshooting prototype?
XCWY offers MOQ 1 when the selected deep drawing defects troubleshooting route is practical. A flexible prototype route may be proposed before production tooling is justified for deep drawing defects troubleshooting.
How quickly can XCWY quote a deep drawing defects troubleshooting project?
XCWY targets a deep drawing defects troubleshooting quotation within three business hours after receiving a complete package. Unclear deep drawing defects troubleshooting specifications, missing models, or complex tooling require clarification first.
Which quality certification applies to deep drawing defects troubleshooting?
Work involving deep drawing defects troubleshooting operates under XCWY’s ISO 9001:2015 system, certificate 34025Q30296R0S. For deep drawing defects troubleshooting, XCWY does not claim ISO 13485, IATF 16949, AS9100, or UL certification.
What is the most important project-specific check for deep drawing defects troubleshooting?
Preserve evidence from the defect location, material lot, process settings, and thickness distribution, then change variables systematically rather than masking symptoms with multiple simultaneous adjustments.
Related XCWY Capabilities
Get a Manufacturing Review and Quote
Attach the drawing, revision, material, quantity, critical tolerances, finish and target date. The inquiry is saved in the site database and emailed to the XCWY team.